Using UCloud
UCloud is a relatively new HPC platform accessible to all researchers and students at Danish universities (via a WAYF university login). It features a user-friendly graphical interface that simplifies project, user, and resource management. UCloud offers access to numerous tools via selectable apps and a variety of flexible compute resources. Check out UCloud’s extensive user docs here.
If you’d like a more detailed explanation and guide on UCloud, including how to navigate and understand the dashboard better, feel free to check our guidelines on how to access our sandbox app and get started: Sandbox guidelines.
Step 1
Log onto UCloud at the address http://cloud.sdu.dk using university credentials.
Step 2
When logged in, choose the project from the dashboard (top-right side) from which you would like to utilize compute resources. Every user has their personal workspace (My workspace). You can also provision your own project (check with your local DeiC office if you’re new to UCloud) or you can be invited to someone else’s project. If you’ve previously selected a project, it will be launched by default. If it’s your first time, you’ll be in your workspace.
For our workshops, you need to select Sandbox Workshop (see image below, top-right corner). This will allow us to provide a pre-configured environment with everything you need installed, along with access to our resources.

Step 3
Search for the either the Terminal or the Coder application (you might be familiar with its original name, Visual Studio Code, shown in the image above) using the search bar. Make the app your favorite. You can see all available apps on the cloud by clicking on ‘Apps’ in the left panel, marked by the bag symbol.
Click on the app button to get into the settings window. You will have to configure the settings as shown below before submitting a job. Follow these steps:
- Name and version of the app to run:
Coder - 1.93.1. You can also choose the latestTermminalversion. - Job settings: enter a job name (descriptive of the task), select the time (in hours) we want to use a node for (it can be modified afterward!), and the machine type (selecting a 1 CPU standard node with 6GB memory).
- Add folders to access while in this job (select your own drive!)
- You need access to our shared folder so that you can get the correct software environment and other material for the exercises.
- You need to select your own drive, to save any output from the exercise! You won’t have writing permissions on our shared drive.
- Choose the file
shared/HPCLab_workshop/setup.sh. The initialization file,setup.sh, is on a different drive than yours. - Click on the Submit button (and wait!)

- Step 2 sets up our computing resources for the period we want to work and can be customized as needed. However, only the time can be modified after submitting the job. You can always add extra time
- Step 4, you will only have access to the folders added during the job setup, and this cannot be modified after submission! Do not use our shared drive to create new files or for any other purpose! Please, make sure you save output files in your own drive (
Member Files: YourName##1234) - Refresh the website if the app doesn’t launch automatically.
YourNameSurname#xxxx: save your results here or any other file.HPCLab_workshop: this is where the input and environment files are located; you can read from this directory but do not have write permissions.
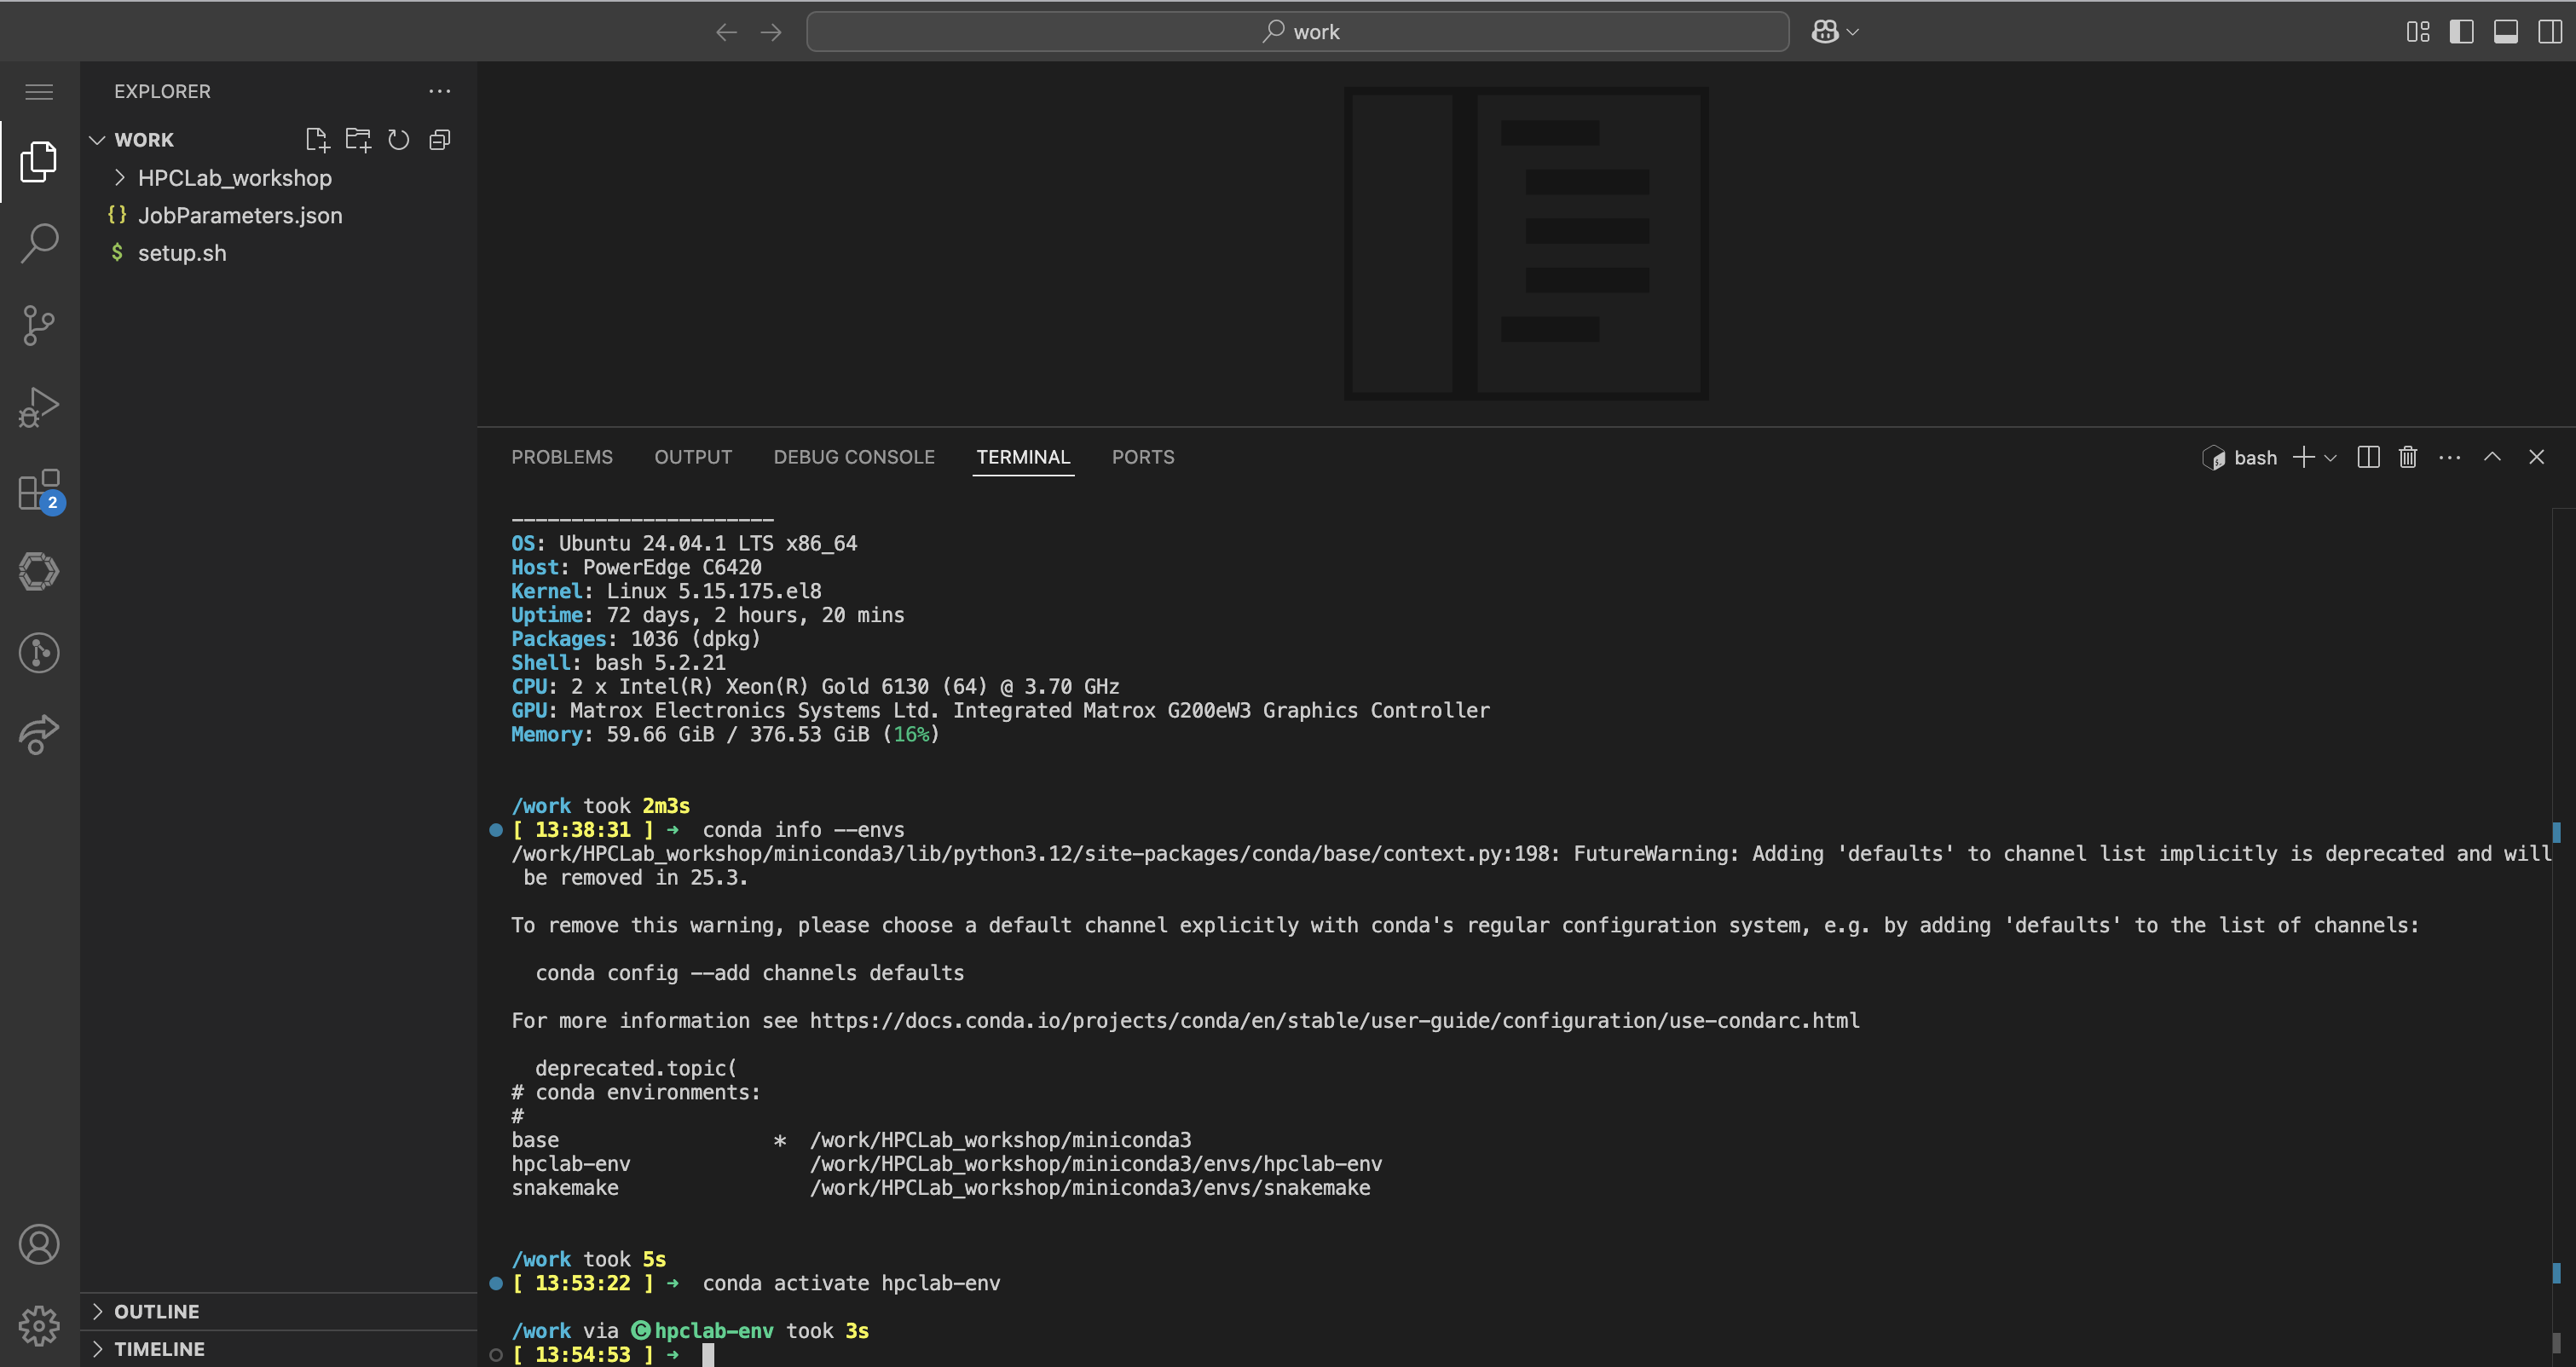
- Now, open the interface and a new terminal. Then, check all conda environments available and activate
hpclab-envas shown below.

- User-friendly interface
- Support multiple languages (flexibility) and notebooks!
- Integrated package management (seamlessly)
- Supported version control integration and formatter tools
- File management and navigation
- Debugging tools (access to command-line tools)
- Terminal integration